

Noticing a washing machine leak from underneath can be both frustrating and concerning. Whether it’s a small puddle or a steady drip, water leaking from the bottom of your washer is usually a sign that something isn’t right. Ignoring it could lead to bigger problems like mold growth, floor damage, or costly repairs.
In this guide, we’ll explore the most common reasons your washing machine might be leaking from underneath and walk you through practical solutions—from simple DIY fixes to when it’s time to call a professional. By understanding what causes these leaks, you can take quick action to prevent further damage and keep your appliance running smoothly.
Let’s dive into the causes and fixes for this common washer issue.
Why Your Washing Machine Leaks from Underneath
A leak from the bottom of your washing machine can stem from a variety of causes—some simple and inexpensive to fix, others more serious. Understanding these potential sources is the first step to solving the problem effectively. Below are the most common reasons why your washer may be leaking from underneath:
1. Faulty Drain Pump
The drain pump is responsible for expelling water from the washer’s drum at the end of each cycle. Over time, this pump can crack, wear out, or develop loose connections—especially in older or heavily used machines.
Signs of a faulty drain pump:
- Water leaks during the draining cycle
- Loud or unusual noises while draining
- Water pooling under the washer
2. Damaged or Loose Hoses
Your washing machine has multiple hoses, including:
- Drain hose (removes water from the tub)
- Inlet hoses (bring water into the washer)
- Internal hoses (connect various components inside)
If any of these hoses become cracked, loose, or detached, they can leak water from the bottom of the machine.
What to look for:
- Visible cracks or splits in hoses
- Water dripping from hose connections
- Signs of corrosion or mineral buildup
3. Worn-Out Tub Seal or Gasket
The tub seal (also called a drum gasket) is located where the washer drum meets the transmission or motor shaft. It’s designed to keep water from escaping the tub.
When this seal wears out, especially in front-load washers, water can leak directly from underneath.
Symptoms include:
- Persistent leaks even when not washing
- Water marks or rust near the transmission area
- Leaking mostly during agitation or spinning
4. Cracked or Damaged Washer Tub
The washer tub (the drum that holds your clothes) can develop cracks or holes, particularly in plastic drums or due to long-term wear and tear. This allows water to escape directly beneath the unit.
Common causes:
- Overloading the machine
- Dropping heavy objects in the tub
- Manufacturing defects in older models
5. Blocked or Clogged Drainage System
A clog in your washer’s drainage system—especially in the drain pump filter or hose—can cause water to back up and leak out from underneath.
Signs of a clog:
- Slow drainage
- Water remaining in the drum after a cycle
- Gurgling sounds or foul odors
Diagnosing a Washing Machine Leak From Underneath: Step-by-Step Guide
Before you attempt any repairs, it’s crucial to accurately diagnose the washing machine leak. A thorough inspection can save you time, money, and unnecessary part replacements. Here’s a simple, step-by-step guide to help you locate where the water is coming from:
1. Safety First
- Unplug the washing machine from the power outlet to prevent electrical hazards.
- Turn off the water supply valves to avoid accidental flooding during inspection.
- Place a towel or shallow pan underneath to catch any remaining water during the process.
2. Slide the Washer Forward
- Gently pull the washing machine away from the wall.
- Use caution to avoid damaging water hoses or electrical cords.
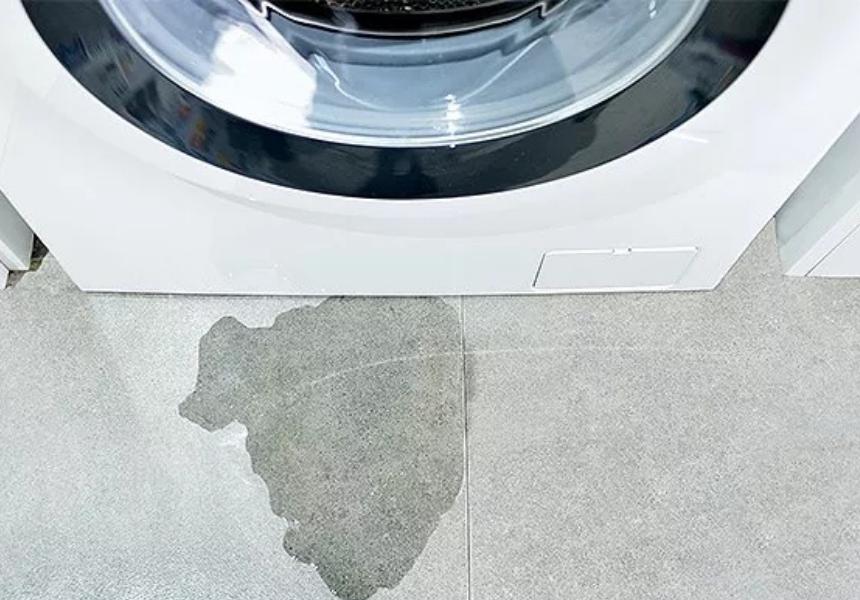
- Check for any visible water trails or puddles on the floor underneath the washer.
3. Inspect Hoses and Connections
- Look for signs of water dripping from the inlet hoses, drain hose, or any internal rubber tubing.
- Check if any hose clamps are loose or if hoses are brittle or cracked.
- Run your hand along the hoses to feel for moisture.
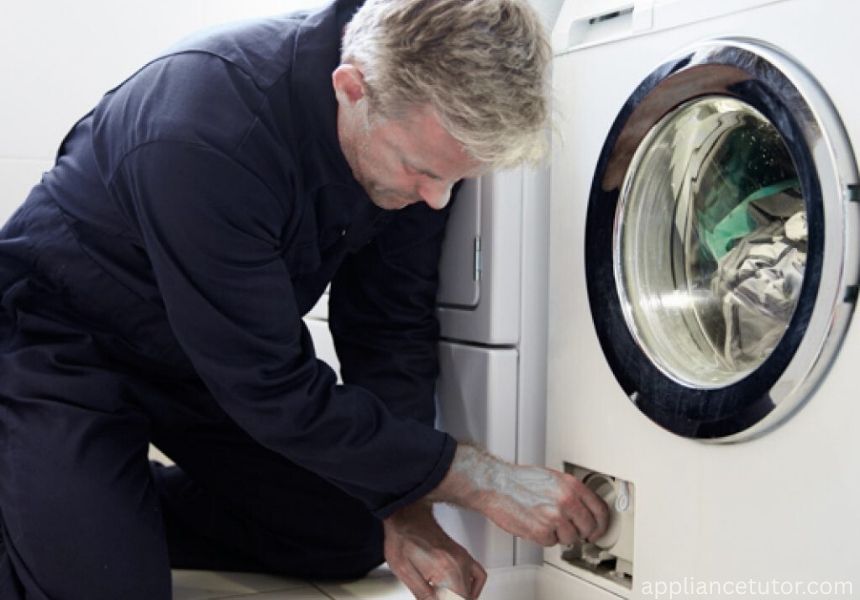
4. Check the Drain Pump
- Locate the drain pump, usually accessible from the back or bottom of the washer.
- Look for cracks in the pump housing or leaks around the pump connection.
- If possible, manually spin the pump impeller to see if it’s jammed or making noise.
5. Examine the Tub Seal and Outer Tub
- Shine a flashlight underneath and around the tub area.
- Look for water seeping from the bottom center of the tub—a sign of a worn-out seal.
- Check the outer tub for cracks or signs of corrosion.
6. Run a Test Cycle
- Reconnect the washer and run a short wash or spin cycle while observing from underneath.
- Use a dry paper towel or cloth to check for fresh leaks at suspected points.
- If you see dripping or pooling, note the exact moment it occurs (filling, washing, draining, spinning).
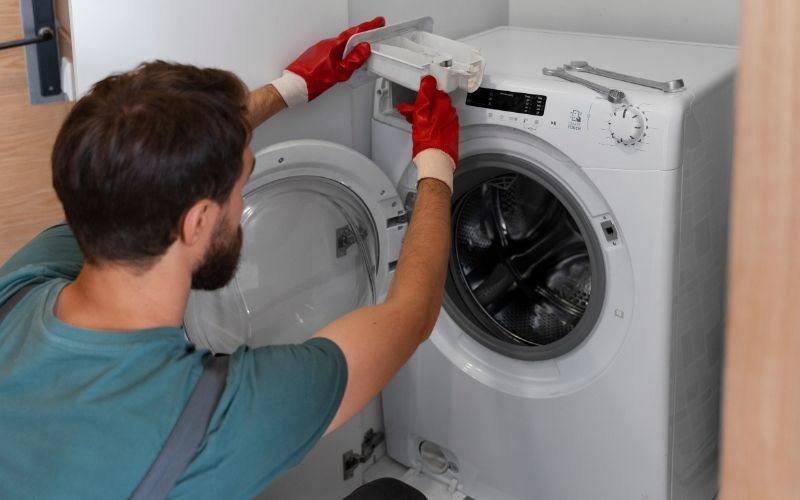
7. Check the Drain Filter (If Available)
- Open the drain pump filter access panel (usually located at the bottom front of the machine).
- Remove debris or foreign objects that may be blocking water flow.
- Re-secure the filter cap tightly after cleaning.
Quick DIY Solutions for Washing Machine Leaks Underneath
Once you’ve identified the cause of your washing machine leak from underneath, you may be able to fix the issue yourself—saving both time and repair costs. Below are practical DIY solutions for the most common causes:
1. Replacing a Damaged Drain Hose or Pump
If you’ve found cracks or leaks in the drain hose or noticed a failing drain pump, replacement is often straightforward.
Tools you’ll need:
- Screwdriver set
- Pliers
- Replacement hose or pump
- Towels or a small bucket
Steps:
- Unplug the washer and turn off the water supply.
- Disconnect the back panel to access the drain pump and hoses.
- Loosen clamps and remove the damaged hose or pump.
- Install the new part and secure it tightly.
- Reassemble and test the washer.
2. Cleaning Out the Drain System
A clogged drain can cause a washing machine leak from underneath. Cleaning the system helps restore proper water flow and prevent future leaks
Steps:
- Locate the drain pump filter (usually behind a lower front panel).
- Place a towel or tray underneath to catch water.
- Unscrew the filter and remove debris, lint, or foreign objects.
- Rinse the filter under water and replace it securely.
- Run a rinse cycle to ensure proper drainage.
3. Replacing a Worn Tub Seal or Gasket
A leaky tub seal may require replacement if you notice water escaping from the bottom center of the washer.
What to know:
- Replacing a seal is a bit more complex and may involve removing the washer drum.
- Refer to your machine’s manual or manufacturer’s guide before attempting this.
- If the job feels too technical, consider calling a professional.
4. Sealing Small Cracks in the Washer Tub
If the tub has small cracks, you might be able to patch them with epoxy repair kits made for plastic or metal.
How to do it:
- Dry and clean the cracked area thoroughly.
- Sand the surface lightly for better adhesion.
- Apply the epoxy sealant and let it cure fully.
- Avoid using the washer for 24 hours after application.
5. Tightening Loose Hose Connections
Sometimes, the solution is as simple as tightening a loose clamp or hose fitting.
Check and fix:
- Inlet hoses at the back
- Drain hose where it connects to the pump or standpipe
- Internal hoses inside the machine
Use a flathead screwdriver or pliers to secure hose clamps. A small adjustment can often stop a slow, persistent leak.
When to Call a Professional
While many washing machine leaks from underneath can be fixed with simple DIY methods, some issues require expert attention. Knowing when to stop troubleshooting and call a technician can save you time, prevent further damage, and avoid safety risks.
1. The Leak Persists After DIY Fixes
If you’ve:
- Replaced hoses or seals
- Cleaned the drain system
- Tightened all connections
…and the washer still leaks, it’s time to get professional help.
Persistent leaks may signal internal structural damage or a complex mechanical issue beyond basic repair.
2. You Suspect a Cracked Outer Tub
A cracked outer tub is difficult to repair and expensive to replace.
- DIY patch kits often fail under high water pressure or spin cycles.
- A technician can assess whether a replacement tub or a new machine is more cost-effective.
3. Electrical Components Are Affected
If you notice:
- Sparks, electrical smells, or
- Washer stops mid-cycle after leaking
…there could be internal electrical damage caused by water intrusion.
Avoid using the machine and call a licensed appliance repair technician immediately.
4. Washer Is Still Under Warranty
If your appliance is under manufacturer or extended warranty, attempting DIY repairs may void coverage.
In this case:
- Contact the manufacturer or authorized repair center.
- Let them handle the repair professionally under warranty terms.
5. You’re Not Comfortable Doing the Repair
There’s no shame in asking for help—especially if:
- You’re unfamiliar with washing machine components
- The fix requires disassembling multiple parts
- You lack the tools or time
Calling a technician ensures the repair is done correctly and safely, especially when dealing with water and electricity.
Preventive Maintenance Tips
Preventing your washing machine from leaking underneath starts with regular care and smart usage habits. A little maintenance goes a long way in keeping your appliance leak-free and running efficiently. Here are some expert-approved tips to help avoid future problems:
1. Inspect Hoses Regularly
- Check all hoses (drain, inlet, internal) every 3 to 6 months for signs of wear, cracks, or bulges.
- Tighten loose connections and replace damaged hoses immediately.
- Consider upgrading to stainless steel braided hoses for added durability.
2. Clean the Drain Pump Filter
- Clean your washer’s drain pump filter (if applicable) every 1–2 months.
- Remove lint, coins, hairpins, or other debris that could clog the drainage system.
- A clean filter prevents backflow and potential leaks.
3. Don’t Overload the Washer
- Follow the manufacturer’s load recommendations.
- Overloading strains the tub, motor, and seals—causing premature wear and water leakage.
- For bulky items (e.g., comforters), consider washing them separately.
4. Use the Right Detergent
- Always use HE (High Efficiency) detergent for HE machines.
- Avoid using too much detergent—it causes excess suds and pressure buildup, which can lead to leaks.
- Clean the detergent drawer regularly to prevent blockages.
5. Level Your Washing Machine
- An unleveled washer rocks during spin cycles and can loosen internal parts or cause water to spill from seals.
- Use a spirit level to check alignment, and adjust the machine’s feet as needed.
6. Leave the Door Open After Each Use
- Allow the drum to dry out by keeping the door/lid slightly open after each wash.
- This prevents moisture buildup, mold growth, and deterioration of rubber seals.
7. Schedule Annual Maintenance
- At least once a year, perform a full machine inspection or hire a technician for routine servicing.
- Early detection of wear-and-tear can prevent costly repairs down the line.
FAQ
- Q1: Can I keep using my washing machine if it’s leaking underneath?
It’s best to stop using the machine until you identify and fix the leak. Continued use can cause water damage and electrical hazards.
- Q2: How much does it cost to fix a washing machine leak from underneath?
Repair costs vary widely—from $50 to $300 or more—depending on the cause and whether parts need replacement or professional service.
- Q3: How do I know if the washing machine tub is cracked?
Look for persistent leaks during washing or spinning cycles, unusual noises, or visible water pooling underneath. A professional can perform a detailed inspection.


